
This article provides a step-by-step guide on how to effectively patch a hole uaing drywall secrets and tips.
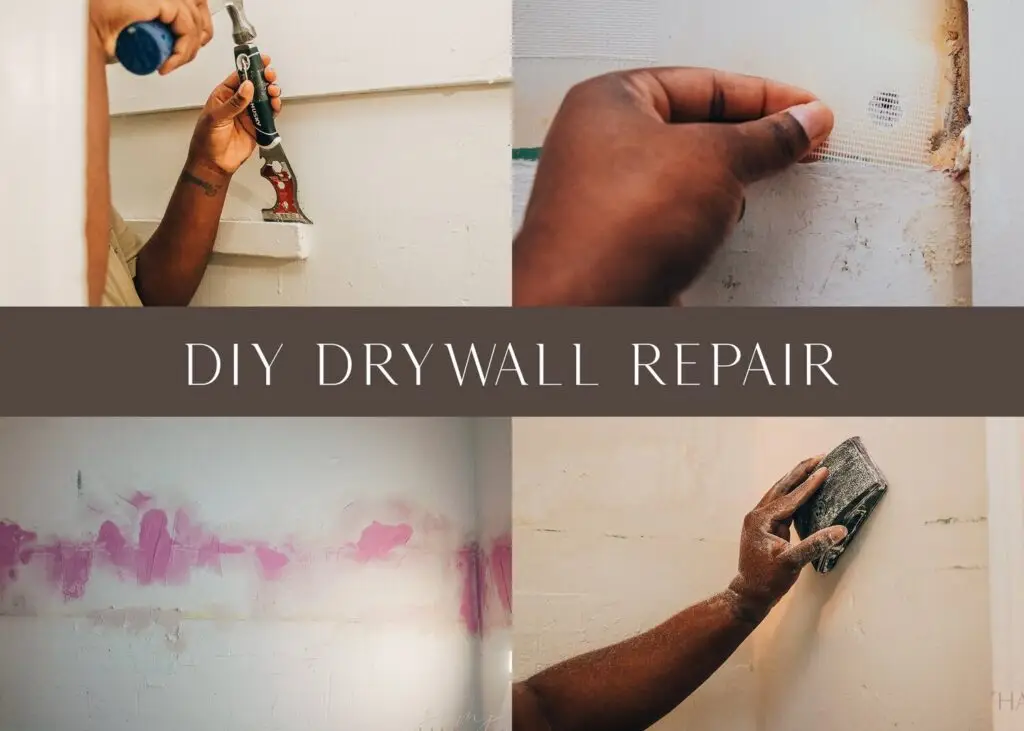
It aims to assist individuals in assessing the size and location of the hole, gathering the necessary tools and materials, preparing the surface for patching, applying the patching compound, and finishing and painting the patched area.
By following these instructions, readers will be able to successfully repair drywall holes with precision and accuracy.
Assess the Size and Location of the Hole
The first step in patching a drywall hole is to objectively assess the size and location of the hole. This assessment is crucial as it helps determine the appropriate materials and techniques needed for an effective repair.
When evaluating the size of the hole, one should measure its dimensions accurately. This can be done using a tape measure or ruler, ensuring precise measurements that will aid in selecting the right patching material.
Additionally, it is essential to consider the location of the hole on the drywall surface. Holes near corners or edges may require different approaches compared to those located in the middle of a wall or ceiling. The proximity to electrical outlets, plumbing fixtures, or other structural elements must also be taken into account when assessing the location.
Gather the Necessary Tools and Materials
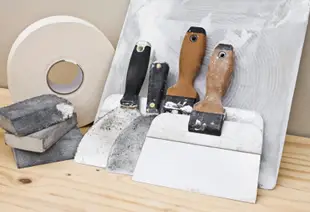
To successfully complete the task at hand, it is essential to begin by assembling all the required tools and materials.
When patching a drywall hole, several tools and materials are necessary to ensure a successful outcome. The first tool needed is a utility knife or a keyhole saw, which will be used to create clean edges around the hole.
Additionally, a putty knife will be required for applying joint compound. It is recommended to have sandpaper on hand as well in order to smooth out any rough patches once the repair is complete.
In terms of materials, joint compound or spackling paste should be obtained for filling the hole. To reinforce the repaired area, mesh tape or adhesive-backed aluminum patch can be used.
Some additional supplies that may prove useful include a dust mask for protection against airborne particles and plastic sheeting or drop cloths to protect surrounding surfaces from any potential mess during the process.
Prepare the Surface for Patching a Hole
In order to achieve a smooth and seamless repair, it is necessary to properly prepare the damaged surface. This step is crucial as it ensures that the patch adheres securely and blends in with the surrounding area.
The first step in preparing the surface is to remove any loose or damaged material. This can be done by using a utility knife or a putty knife to carefully scrape away any flaking paint or crumbling drywall. It is important to be gentle during this process so as not to further damage the surrounding area.
After removing loose material, the next step is to clean the area thoroughly. Dust, dirt, and grease can prevent proper adhesion of the patching compound. A damp cloth or sponge can be used to wipe down the area, ensuring that it is free from any contaminants.
Once cleaned, it may be necessary to enlarge the hole slightly in order for the patching compound to fit properly. A keyhole saw or jab saw can be used for this purpose, making sure not to cut beyond the edges of the existing hole.
Finally, before applying any patching compound, it is recommended to prime the area with a primer specifically designed for drywall repairs. This helps seal and prepare the damaged surface for optimal adhesion of both compound and paint.
Apply the Patching Compound
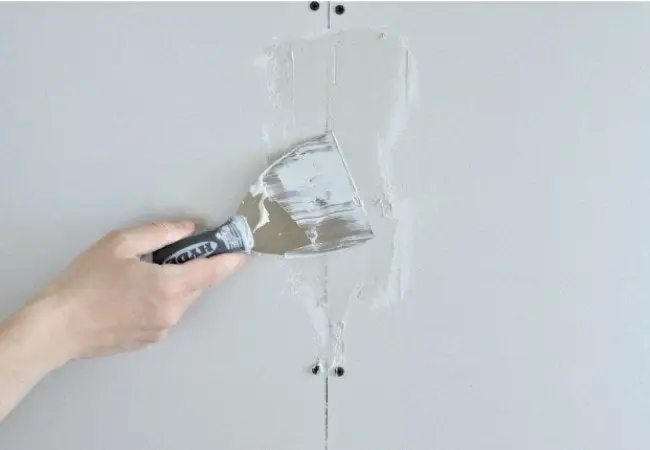
Once the damaged surface has been properly prepared, applying the patching compound is the next step in the repair process. The patching compound serves to fill in the hole or damaged area and create a smooth, even surface for painting or further finishing. When selecting a patching compound, it is important to choose one that is appropriate for drywall repairs. There are various types of patching compounds available on the market, such as spackling paste, joint compound, or drywall mud. These compounds typically come in pre-mixed form or as a powder that needs to be mixed with water before application.
To apply the patching compound, start by using a putty knife or trowel to scoop out a small amount of compound from its container onto the blade. Then, use the putty knife to spread an even layer of compound over the damaged area. It is important to feather out the edges of the compound so that it blends seamlessly with the surrounding wall surface. For larger holes, multiple layers may be needed, allowing each layer to dry before applying another. After applying each layer and allowing it to dry, sand down any rough spots or excess material using fine-grit sandpaper until a smooth finish is achieved.
Finish and Paint the Patched Area
After the patching compound has dried, the next step involves sanding the area to achieve a smooth finish before applying paint. Sanding is an essential process in drywall repair as it helps to create a seamless transition between the repaired area and the surrounding wall. The purpose of sanding is to blend the patched area with the rest of the wall by removing any imperfections such as bumps or unevenness. This allows for a more professional and aesthetically pleasing result.
To begin sanding, it is recommended to use fine-grit sandpaper or a sanding block. These tools will help to gently smooth out any rough edges or raised areas on the patched surface without causing further damage. It is important to apply light pressure while sanding and work in small circular motions, gradually extending outward from the center of the patch.
Once the patched area feels smooth and even to touch, it is advisable to wipe away any dust or debris using a clean cloth or sponge before proceeding with painting. This will ensure that no particles are left on the surface, which could affect paint adhesion or leave visible marks.
Drywall Hole Patching Frequently Asked Questions
How Long Should I Wait for the Patching Compound to Dry Before Applying Paint?
The duration required for the patching compound to dry before applying paint is dependent on various factors, such as the ambient temperature and humidity levels. Generally, it is recommended to allow the compound to dry completely before proceeding with painting.
This typically takes around 24 hours, but it may vary depending on the specific product used and the conditions of the environment. It is advisable to refer to the manufacturer’s instructions for precise drying times and ensure optimal results.
Can I Use Any Type of Paint to Finish and Paint the Patched Area
The question at hand pertains to the suitability of different types of paint for finishing and painting a patched area on drywall. Exploring this matter in an objective and impersonal manner, it is important to consider that not all paints are compatible with drywall surfaces.
Therefore, it is advisable to use a paint specifically formulated for drywall applications in order to achieve optimal results. This will ensure proper adhesion, durability, and a seamless finish when painting over the patched area.
What Should I Do if the Hole Is Located Near an Electrical Outlet or Switch?
If the hole in the drywall is located near an electrical outlet or switch, it is important to take additional precautions.
The first step is to turn off the power supply to the affected area by switching off the corresponding circuit breaker. This will help prevent any potential electrical hazards during the repair process.
It is also advisable to consult a licensed electrician who can ensure that all necessary safety measures are taken and properly reconnect any wiring after the patching is complete.
Is It Necessary to Sand the Patched Area Before Applying Paint?
In order to determine whether it is necessary to sand the patched area before applying paint, various factors need to be considered.
The nature and extent of the damage, as well as the type of patching material used, may influence the need for sanding.
Sanding provides a smooth surface for better paint adhesion and ensures a more aesthetically pleasing finish.
However, if the patch has been skillfully applied and does not exhibit any roughness or unevenness, sanding may not be required.
Can I Use a Different Type of Patching Compound if I Don't Have the Recommended One?
The current question revolves around the possibility of using a different type of patching compound when the recommended one is not available. This issue arises within the broader context of patching a drywall hole.
It is essential to examine whether alternative compounds can effectively fulfill the required task, considering factors such as their composition, compatibility with the material, and overall performance in achieving a seamless and durable repair.
Further analysis and experimentation are necessary to determine suitable alternatives in this particular situation.